Our notes summarising our experiences and reflections of each activity and place in this 11 day trip to Cebu! Of the 11 days, 7 were activity days, while the others were largely administrative and/or just lazing around.
Firstly, quick notes about our Cebu tour operator – Canyoneering Cebu Tours. We contacted ten different Cebu tour companies, obtained replies from six of them, had further back and forth as several of these six operators did not finally allow customised itineraries or did not do Bohol activities. We landed up with three quotations for a 7D customised itinerary, and decided between the three. CCT’s pricing wasn’t the cheapest, but the company was responsive to my queries on WhatsApp. And importantly, did not ask for a hefty deposit to confirm the reservation. They asked for 20%, compared to another operator’s request for a 50% downpayment.
We had two drivers assigned to us over the 7 days: one for the first five days while in Cebu island, and another for the last two days in Bohol. Both drivers were excellent drivers and who got us to our locations speedily: our Cebu driver was a fairly quiet gentlemen who didn’t engage much socially, but he was always early at pick-up timings. Our Bohol driver was chatty and clearly knew the land very well, but he was also 20 minutes late for our Day 08 pick-up, and that annoyed the wife a little. He was also perpetually on the phone when we drove around: the man was clearly very busy juggling this independent gig of ours, and also his own tour company.
Google reviews note that most Cebu tour operators offer at least decent levels of quality, so we can’t say with certainty how CCT fares compared to the others. But in our experience with them, and particularly the responsiveness of the tour liaison who arranged the itinerary and coordinated communications between drivers and us, they get our recommendation, albeit you might be paying slightly more compared to other operators.
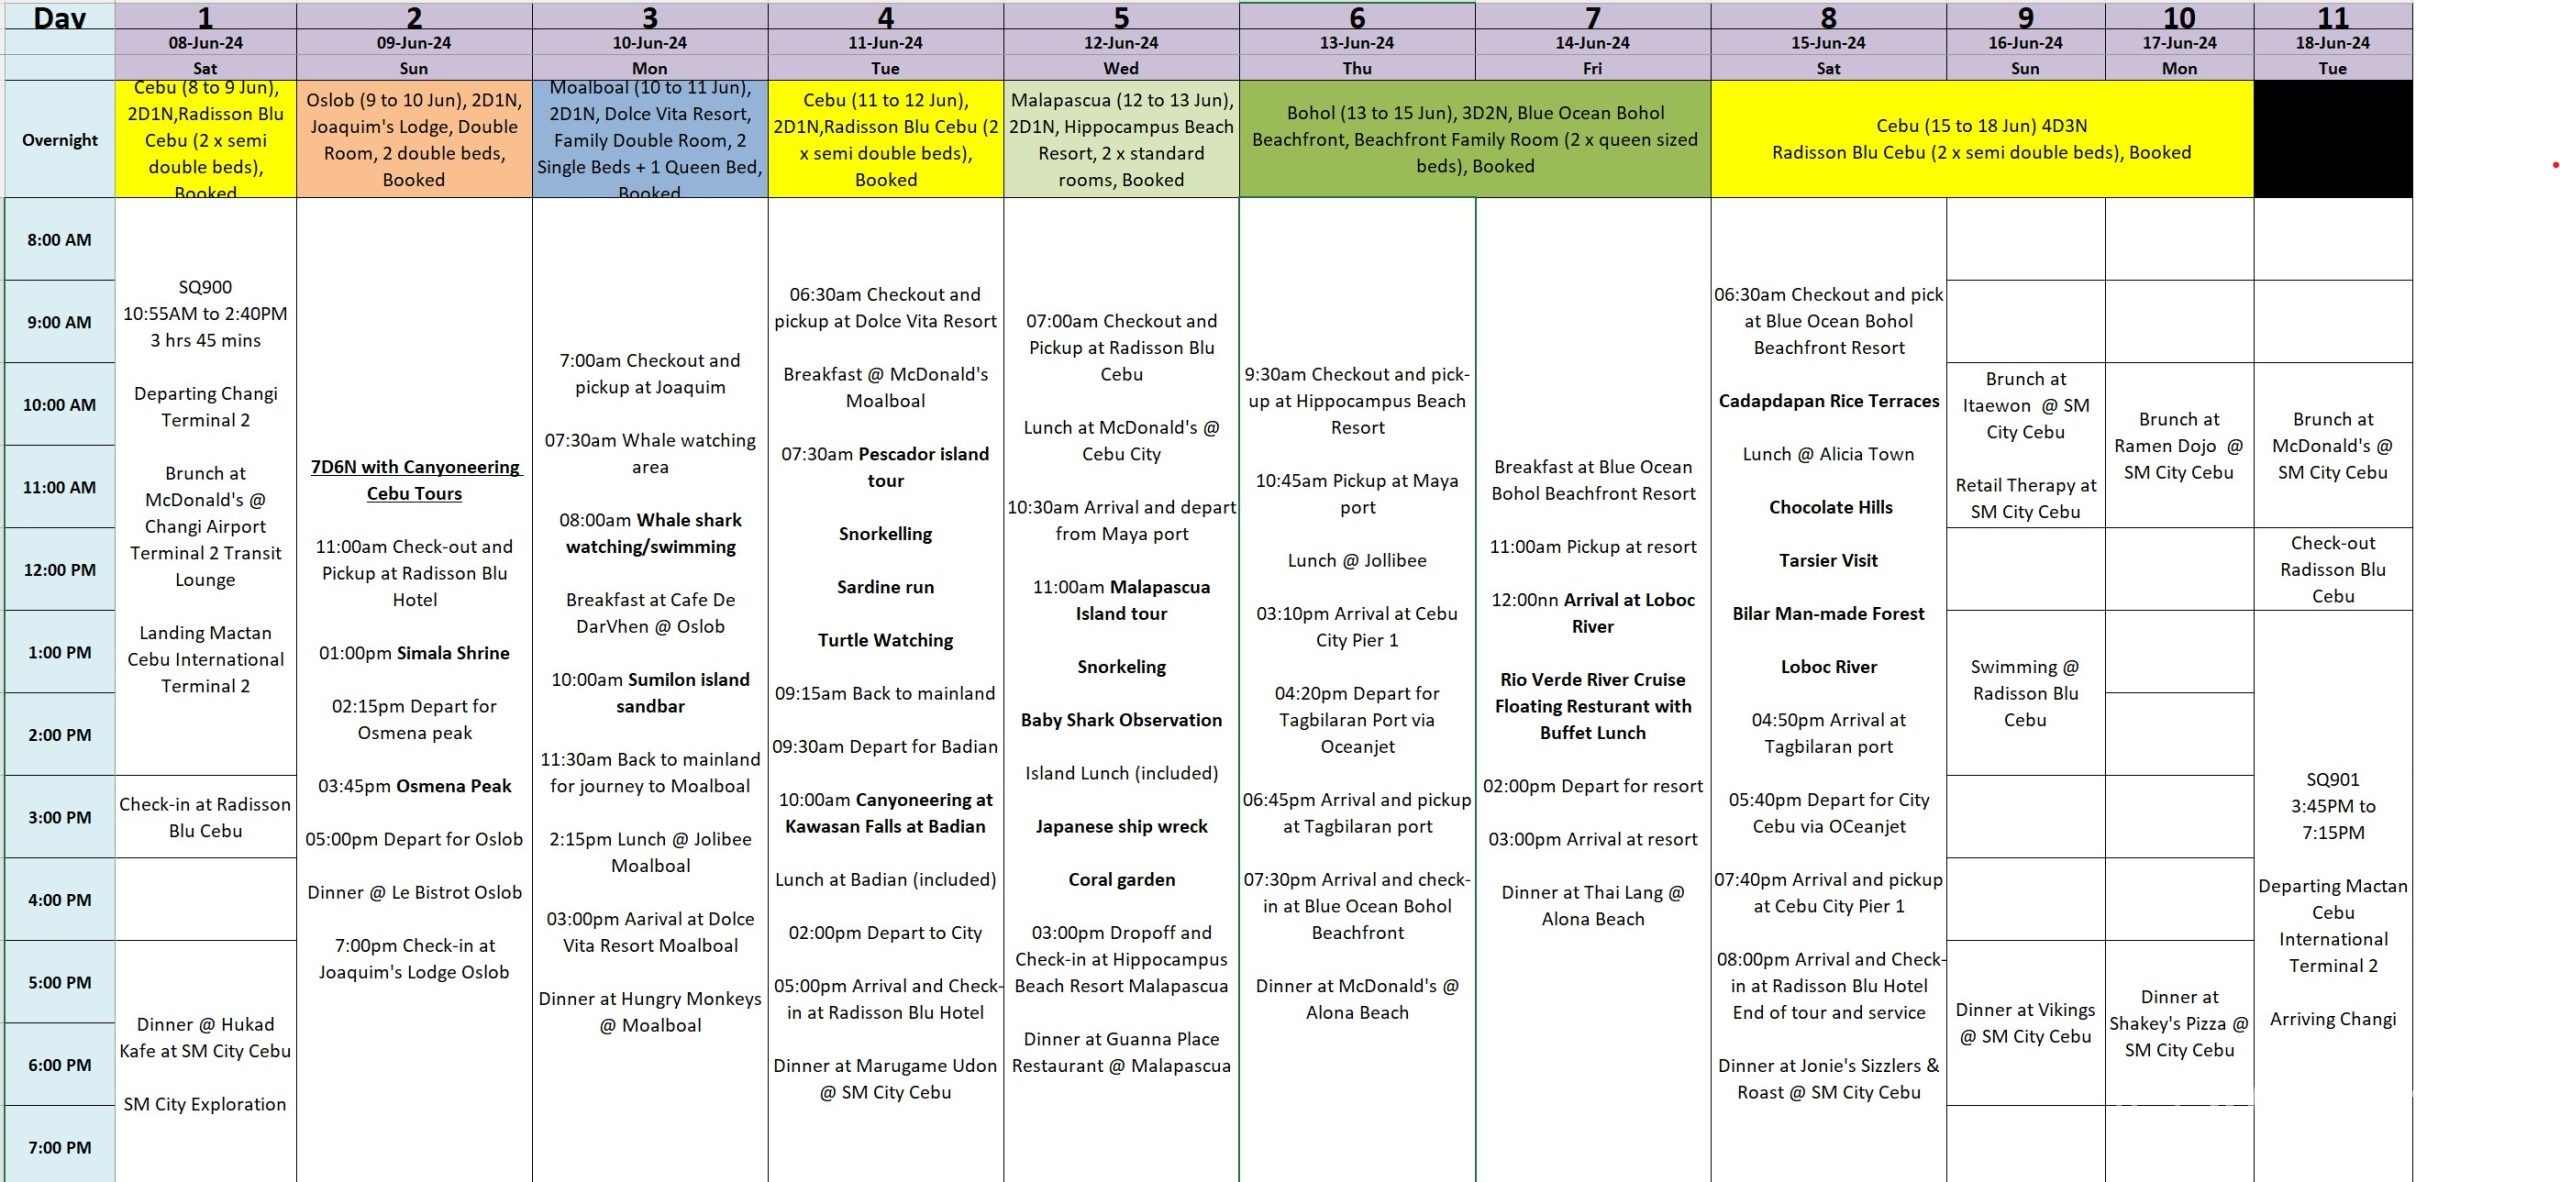
Day 1: Arrival into Cebu City
[Blog post here and here]: Our SQ flight left Singapore at 10:55AM, and the 3.5 hour flight arrived into Mactan-Cebu International Airport at 2:40PM. Immigration clearance and baggage claim was very quick, and our first hotel – Radissson Blu Cebu – was a short 30 minute drive away by Grab. We’d also submitted our travel declarations ahead of arrival, so we just had to show the eTravel QR codes. Rest of the day was just settling into the comfortable hotel – the Radisson Blu Cebu- and finding dinner next door at SM City Cebu.
Day 2: Cebu City to Oslob
[Blog post here]: The start of our substantive 7D itinerary with CCT. We started the tour by driving down south to Simala Shrine. The shrine is impressive from an architectural perspective, but also pretty congested. If you’re rushed for time, you could skip a visit to the shrine. Thing is though: Simala Shrine is pretty much on the way if you’re heading to Oslob, so you’d need to judge yourself if it’s worth a look still.
[ Blog post here]: Next stop was Osmeña Peak. This one is worth a visit as it offers a marvelous view of the hills in Cebu. And on a clear day, you can also see the coast lines in the distance and the islands further-off. The hike up takes about 20 minutes, and is doable for most age levels unless you’re elderly. You’d be assigned a guide who will hike up with you and help you take canned pose pictures. After we descended from the peak, we continued onwards to Oslob for a late check-in.
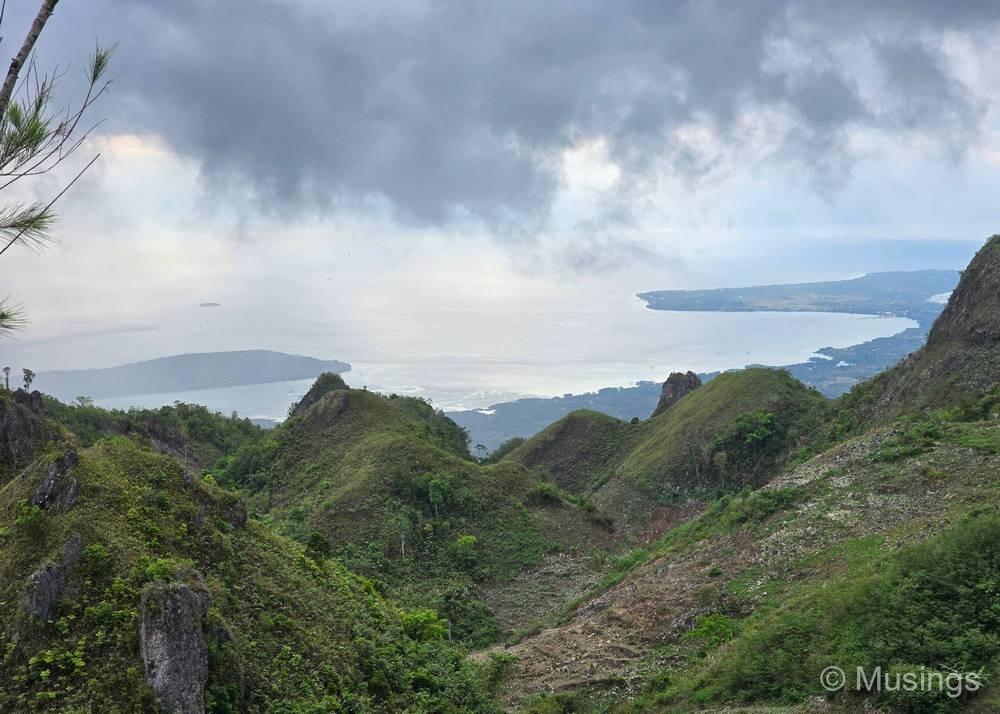
Upon reflection, one alternative to our itinerary above could be to leave Cebu City earlier, skip Simala Shrine, keep Osmeña Peak, then see if it’s possible to visit the sandbar at Sumilon Island in the mid-afternoon, as it should be low-tide then.
Day 3: Oslob to Moalboal
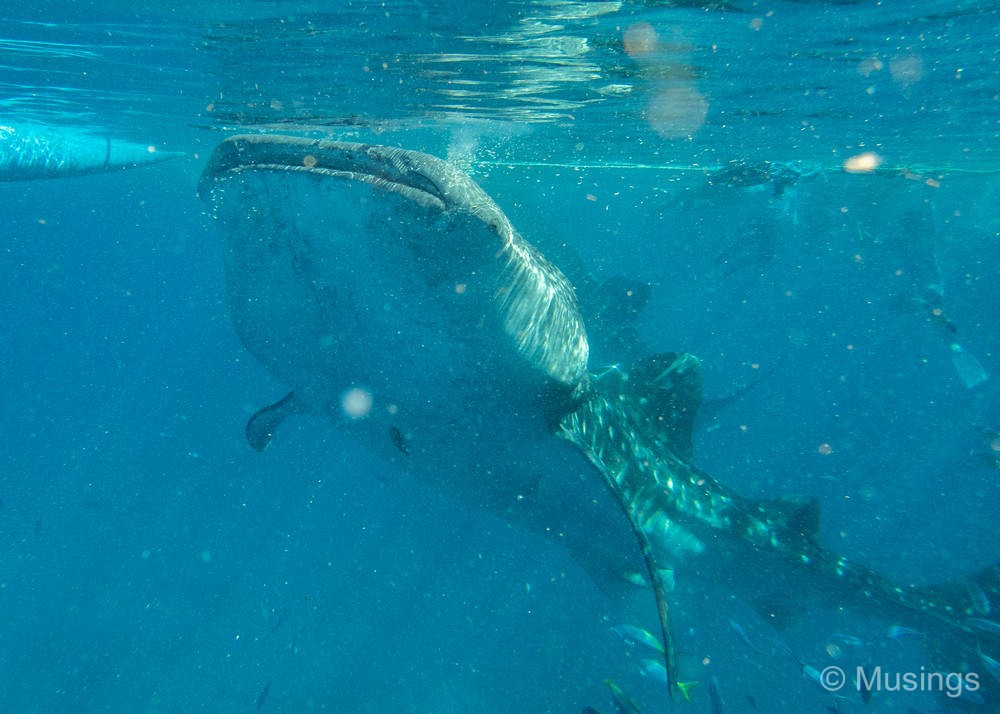
[Blog post here]: We started with the Swimming with Whale Sharks activity in the morning, with our session slot at 8AM. Questions about the ethics feeding whale sharks to draw them near, this is still an absolutely must-do for visitors to Cebu. The experience of swimming alongside these majestic and elegant gentle giants and observing them from close was unforgettable. The activity itself is probably about 20 minutes, which seems short but is actually plenty of time. Listen especially also to the briefings and do not try to swim towards or intentionally touch the whale sharks.
[Blog post here]: Next stop was the sandbar at Sumilon Island. If you’ve been to the Maldives and visited the sand bars there, you’d then need to manage your expectations for the one at Sumilon: I found it congested, and we visited at the wrong time of the day too i.e. during high tide. So, there was no sandbar to speak of. Drone enthusiasts take note too: you need to pay a fee of 2500p to fly a drone, and honestly, there’s little exciting about the island. So, my advice: skip this sandbar, and skip the drone session if you still want to visit.
Tumalog Falls was in our itinerary but had to be dropped as our driver told us the Falls was closed for several months. Odd that CCT did not tell us about this beforehand. Just as well, since it rained after our visit to Sumilon Island, so we unlikely would not had been able to trek to the Falls anyway.
Day 4: Moalboal to Cebu City
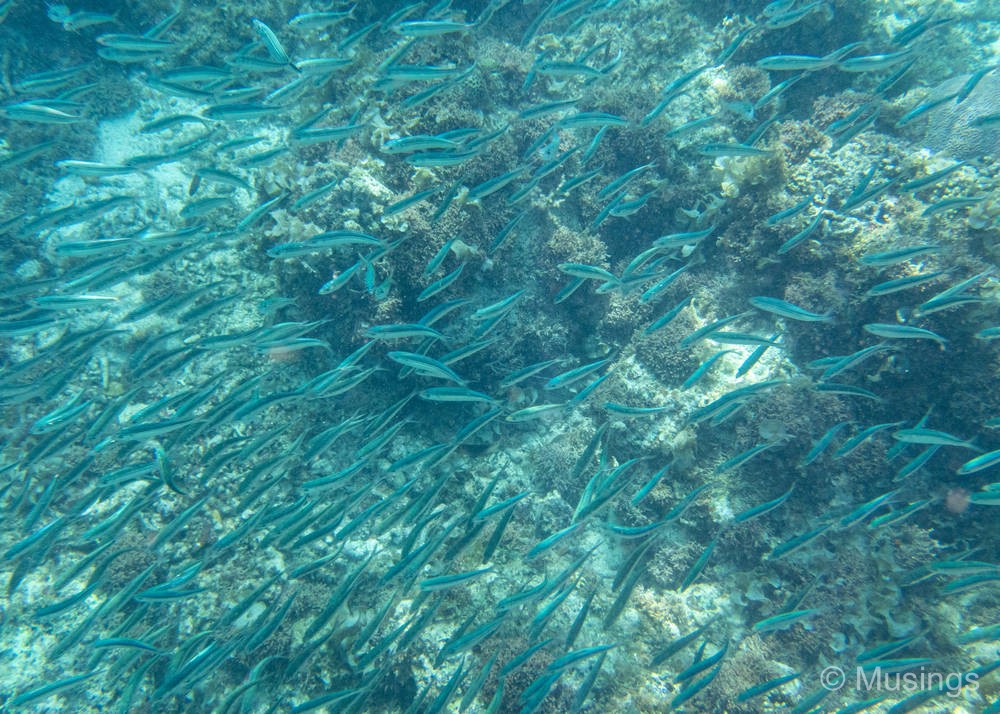
[Blog post here]: The morning activity was snorkeling around Pescador Island. As with most places we’ve snorkeled at, many of the corals we saw were dead or had bleached. The sardine run was enjoyable, if not as memorable as the swimming with Whale Sharks the day before. The sardine run area though saw a lot of people around, so there’s a fair bit of jostling about in the water. This is a second must-do when in Cebu.
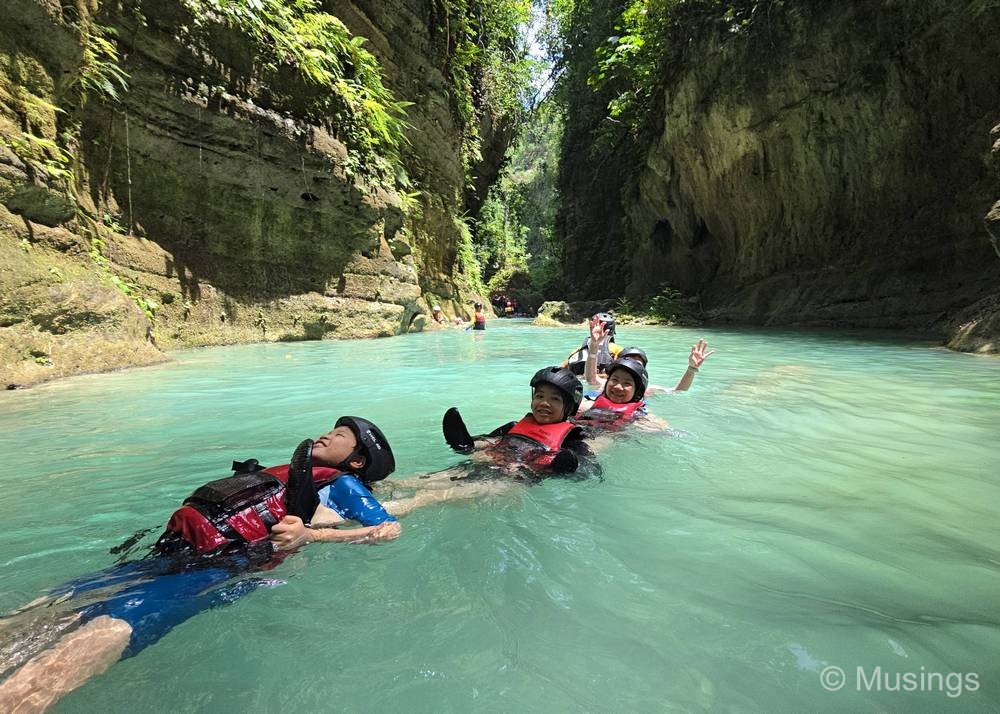
[Blog post here]: The next activity was Canyoneering at Kawasan Falls. This is the third must-do, and it’s a lot of fun! The Canyoneering operator that CCT arranged with was Royets Canyoneering, and our four assigned guies were a jolly bunch and we felt well attended to. When you’re offered the choice to either hike to the start point or take the Zip line down, go with the latter. It’s a little expensive at 600p/person, but the experience while short is exhilarating. And this is coming from someone with a terrific fear of heights! Do note though that some level of physical exertion of the trek through the canyon is involved, and once you get started on the 4 hour trek, you’d have to complete it. Also, make sure you have appropriate footwear, e.g. water shoes.
Day 5: Cebu City to Malapascua Island
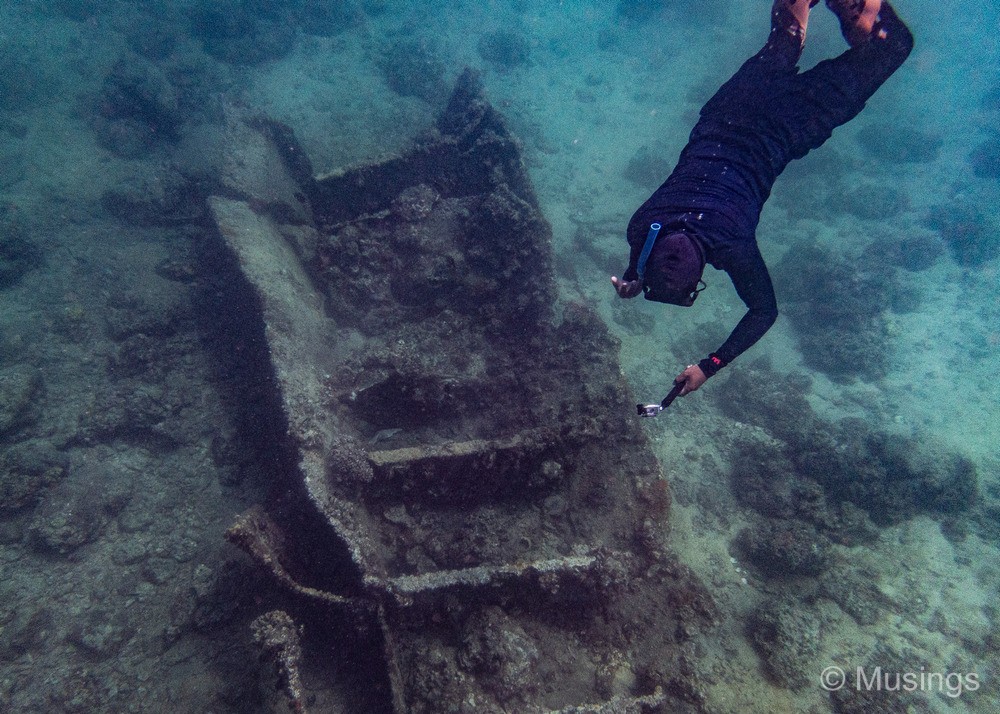
[Blog post here]: We set off early morning on Day 05 for Malapascua Island, which involved a 3.5 hour drive to Maya port, and a 30 minute boat ride to Malapascua Island itself. We were received by a local guide there, and went on a private excursion that took us to four snorkeling spots. The snorkeling experience paled in comparison to what we got at the Maldives, but I guess it’s the quality of snorkeling sites in this area itself and no fault of the guides. On the other hand, the waters around Malapascua were a lot calmer too, and I didn’t get the least bit of nausea that I got a lot of during our Maldives trip.
We stayed on Malapascua Island for a night. Keep in mind that this is a small and relatively less developed island compared to the likes of Panglao Island, so manage your expectations for your accommodations.
Day 6: Malapascua Island to Cebu City to Bohol
[Blog post here]: The day was spent making our way from Malapascua Island to Bohol. It started off with motorbiking a short distance from our resort to the island jetty, then 30 minutes of a boat ride back to Maya Port, then a nearly 5 hour drive to Cebu City Pier 1, and another 2 hour boat ride to Tagbilaran Port in Bohol, and finally a 30 minutes ride by car to our stay at Alona Beach in Panglao Island. In short, mucho traveling, and only because of our visit to Malapascua Island and the distance between that and Bohol. If you’re hard pressed for time or do not want the trouble of making long journeys from Cebu northwards and back, then I reckon you can skip the Malapascua segment altogether and shave off 2 days for other things. You’d need to find other snorkeling spots then though to replace what you’re skipping in Malapascua.
Do note that there are terminal fees (25p/person) and baggage fees (100p per luggage item).
Day 7: Bohol
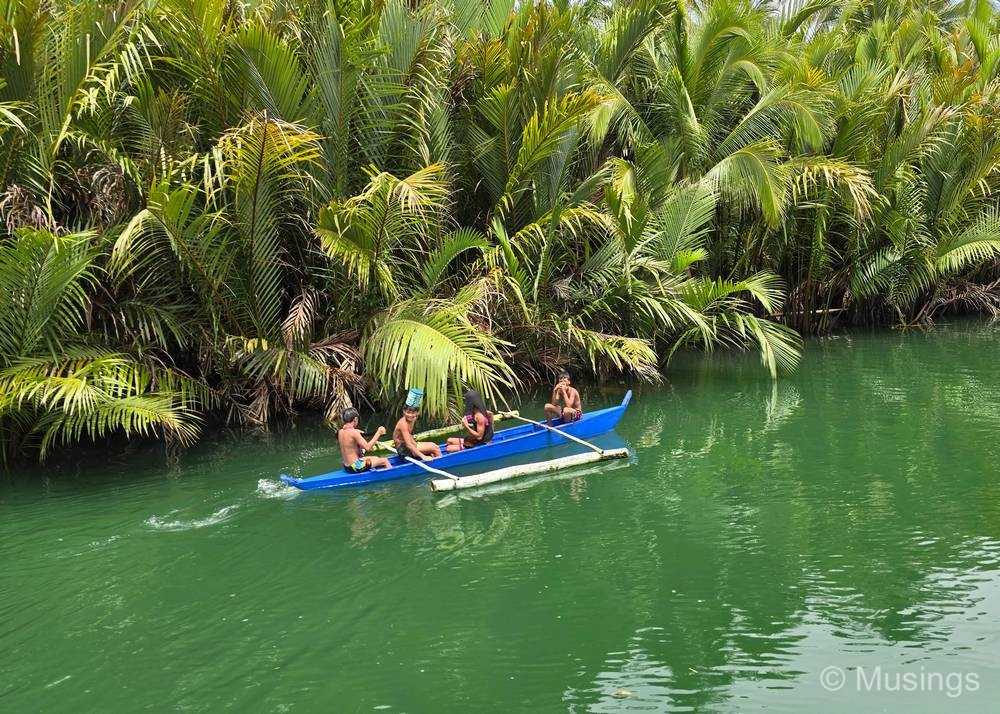
[Blog post here]: We intentionally kept our Day 07 activities light as we wanted to enjoy Alona Beach and also the resort. So, we had only the Loboc River cruise on a floating restaurant in our itinerary. The river cruise operator was Rio Verde. The lunch on a river cruise is a standard inclusion in most Bohol itineraries, and ours ran like clockwork, if also a little factory production like. Still, the cruise was reasonably priced, and the food decent enough. Just don’t expect a luxury or exclusive experience: the experience felt pretty mass-market.
Day 8: Bohol
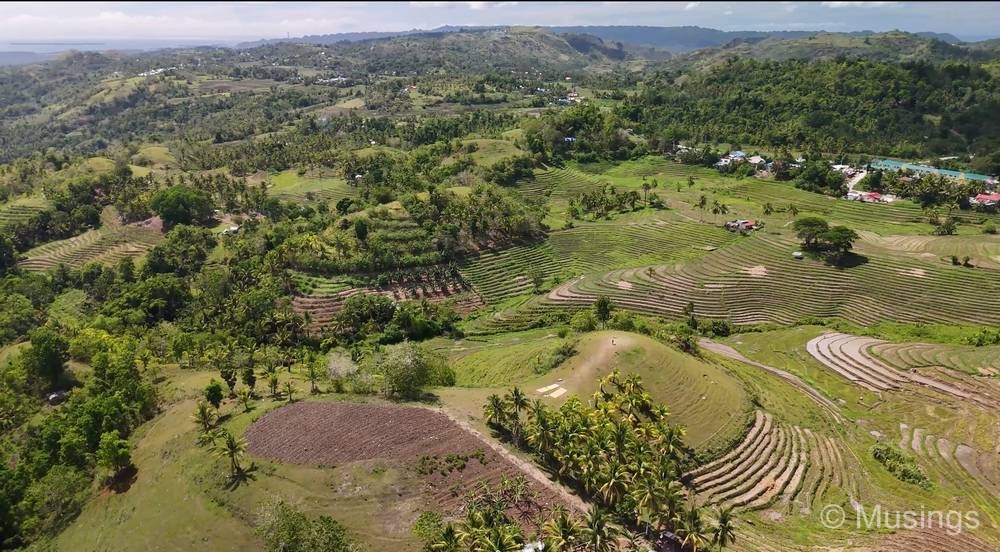
This was a pretty heavy day, itinerary-wise, and that we stayed in Bohol for two nights is largely on account of my wanting to visit Bohol’s rice terraces. These rice terraces are located on the western side of the island and far from where most people on day trips to Bohol would be, which meant it’d take a good while for us to actually get there!
[Blog post here]: That out of the way, Day 08 for us started for us with an 7AM pick-up at our resort. The first stop – Cadapdapan Rice Terraces – involved a 3 hour drive, but we got an expansive view of the Bohol rice fields when we got there. If you’re coming here to fly drones, the effort to get to this spot might be worth it particularly if you haven’t seen the rice terraces in Bali. If you already have, and/or you’re not doing aerial photography, and/or can’t spare the time, then my advice would be to skip the Cadapdapan Rice Terraces: it’s a good activity, but it really is a fair bit of time to get there.
[Blog post here]: The Chocolate Hills are an interesting sight, but it’s a pretty crowded as it’s a popular attraction in Bohol. Alongside the Loboc River Cruise, visit to a Tarsier Sanctuary, and Bilar Man-Made Forest, these Hills are also a standard inclusion to any Bohol day trip. The viewing platform is a relatively easy 4 minute climb up stairs, and there are a couple of sheltered rest-stops in-between.
[Blog post here]: The Tarsier Sanctuary is a pretty small park, and also a very popular i.e. well-visited and thus likely congested park. The Tarsiers are incredibly cute though, and the parks are easy to get to when you’re in Bohol.
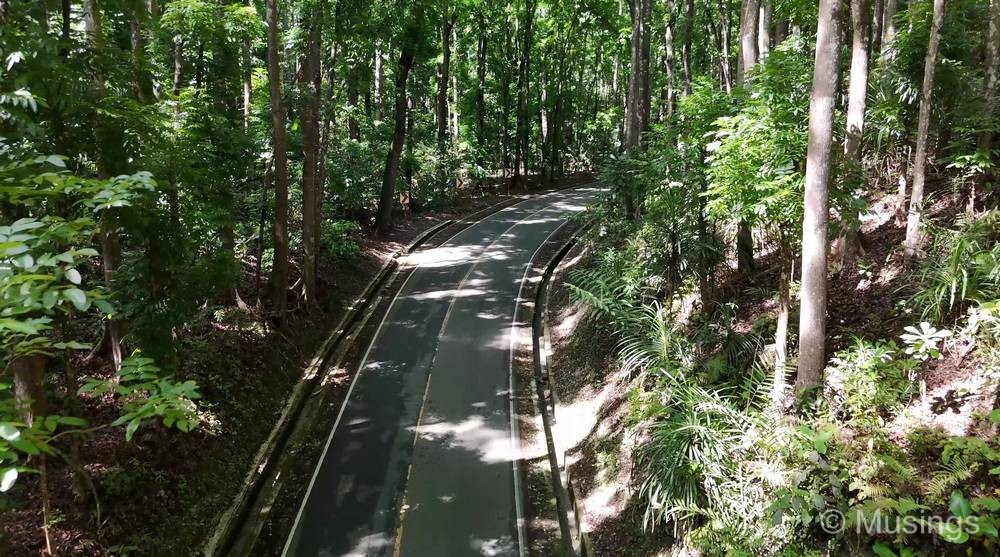
[Blog post here]: The Bilar Man-Made Forest is near to the Tarsier Sanctuaries, and provides an almost surreal feel with its canopy-like trees. If you’re intending to fly a drone for aerial photos and videos, make sure your skills are up to scratch, and you have a drone with sensor avoidance systems!
As we had a bit of spare time, our Bohol driver brought us to the Loboc Eco-Tourism Adventure Park as a last stop. I flew the drone again to get additional footage of Loboc River.
We got to Tagbilaran Port at 4PM, plenty of time before our 5:20PM boat ride back to Cebu City Port. The ride takes around 1 hr 50 minutes, but our boat left 25 minutes after the scheduled start-time, and we only reached Cebu at 8:10PM. The same 25p/person terminal fees applied, but the luggage fee was 150p per bag. Not sure if the fellow at the baggage counter deliberately overcharged us.
Days 09 to 10: Cebu City
[Blog post here]: Well, we opted to vegetate/chill/relax at the Radisson Blu Cebu and SM City Cebu. So, not much of an itinerary for our last two full days in Cebu.
Day 11: Return to Singapore
[Blog post here]: Our flight back home departed Mactan-Cebu International Airport at 3:45PM, so we had a leisure morning, brunch at SM City Cebu, checked out at 12PM, then made our way to the airport via Grab.
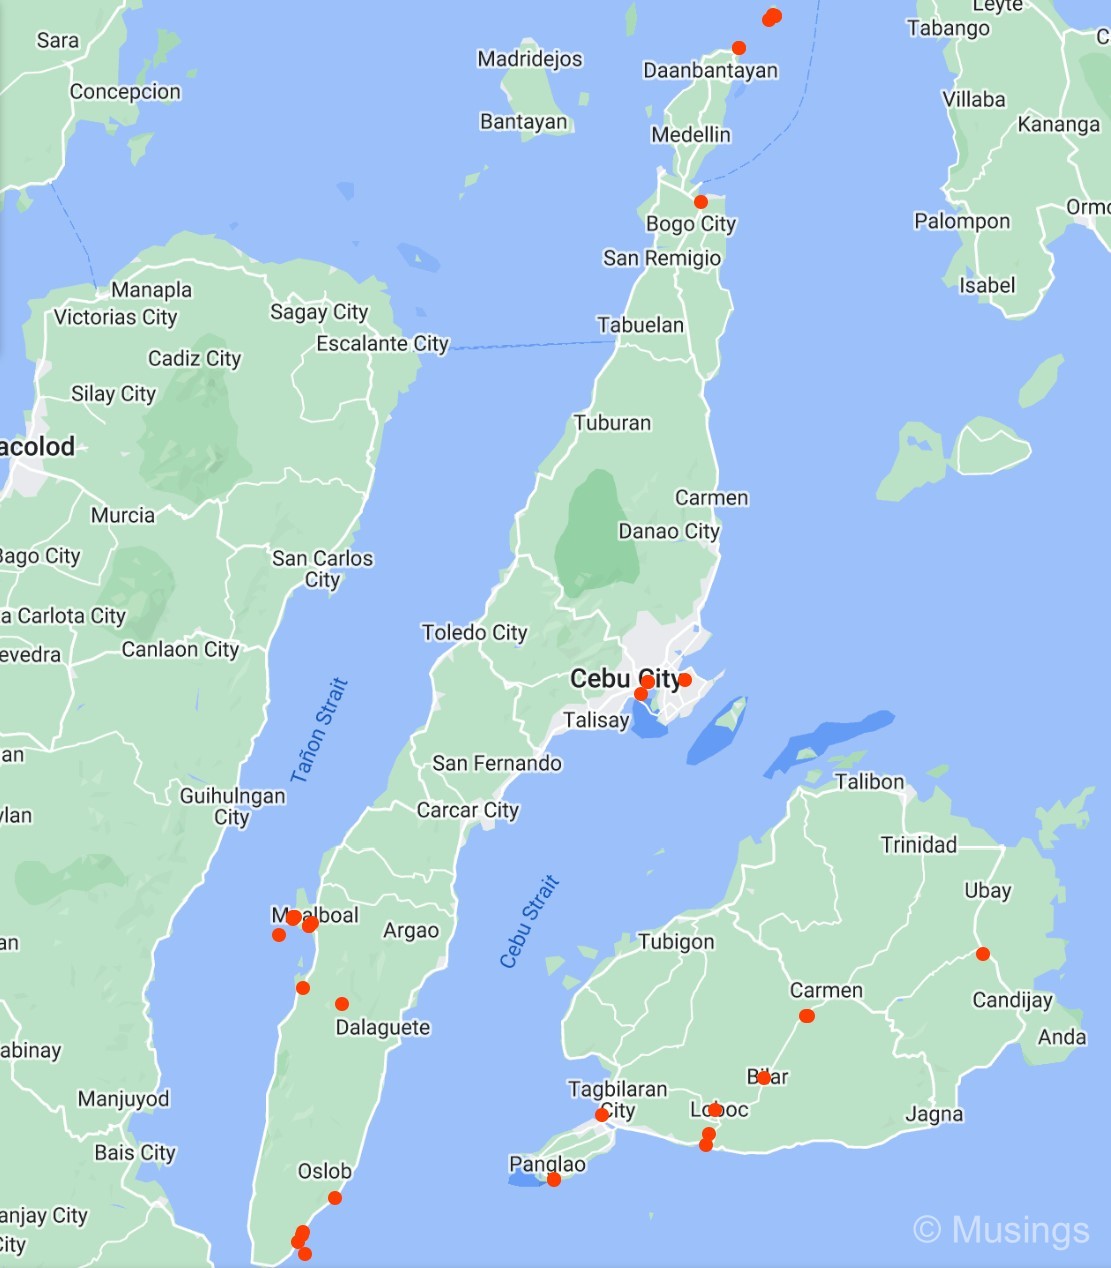
Next post: Drone-ing in Cebu!