Many of the unit types at The Minton have a yard toilet, and one interesting challenge for such unit type owners has been if the yard toilet can be repurposed into a washer area. I’ve blogged about our intention to do exactly just that from our renovation’s get-go, but there were various things to consider and put into place. Specifically, to have converted the yard toilet into a washer, we:
Had a Professional Engineer certify that such an alteration would be alright, and had the endorsement submitted.
Removed the existing toilet bowl, created a washer-base and drew new water inlets and outlets
Removed the foldable door and its door frame, and touched up the door way
Once the area was ready, what remained was for us to select a washer that could fit past the door way, for it to be turned around and put onto the base. We’ve been using a 6.5 Kg Electrolux front-loading washer for 8 years now, but while the machine is still nominally functional, there’s a great deal of mold growing about the edges. Washers are largely standard width and height for the most part, but their depths can really differ. I had my eye on a 9 kg Electrolux front-loader (the EWF10932) – we needed a larger capacity in view of our king-sized mattress bed linen and supplements, and also the amount of laundry Ling does for the kids – but it was a tough decision whether to risk buying this 665mm deep washer and if it’d actually fit past the door way!
To help us decide, I made an actual-size footprint of the washer base – 665mm X 650mm – out of packing box cardboard, and tried several times to fit this mockup past the door way. I discovered through the trial runs that it wouldn’t be easy, but it was possible. Basically one would need to push the washer in side-facing first, slowly jiggle it bit by bit at an angle until it sits properly into the washer base.
Still, we had our designer on standby to remove the wash basin if for any reason the actual thing wouldn’t fit. And a week ago since we made our order, I was a little nervous if my calculations were wrong; we’d be possibly stuck with a washer that could not fit into its designated area!
As it turned out, the washer indeed just managed to fit in. Hooray for trial runs! Credit had to really go to our designer who thoughtfully relocated the outlet/drainage pipe and also water inlet all the way to the far corner, allowing the washer to be pushed all the way back behind.
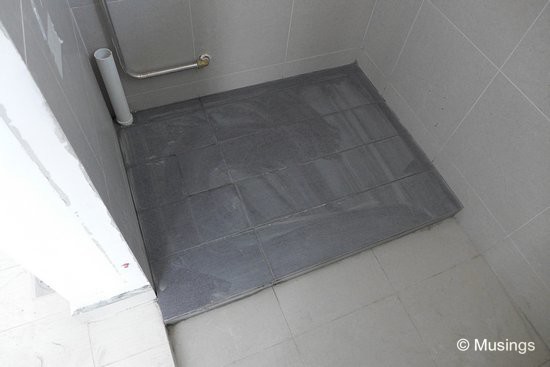
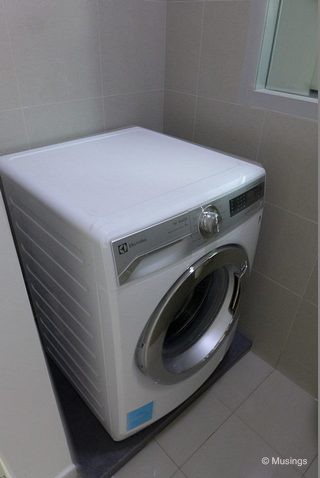
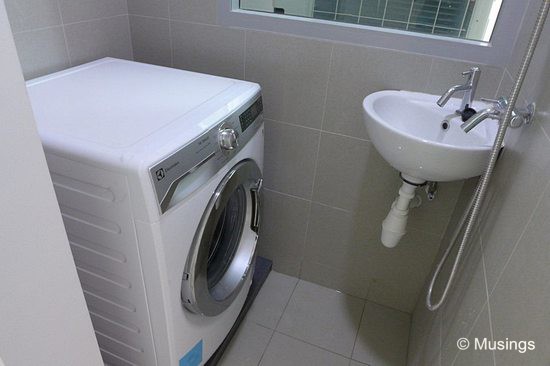
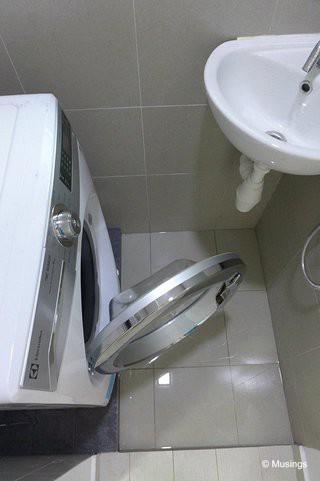
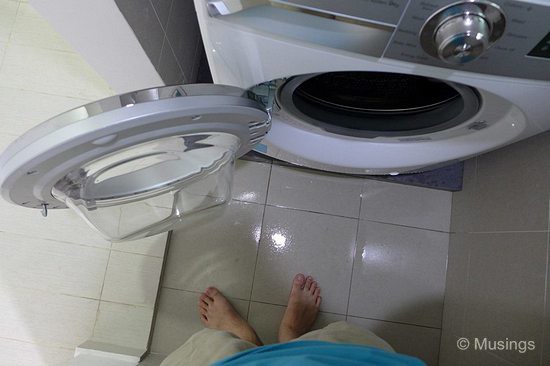
The old dryer will be next put onto of it soon on our big moving day.:)
Hi, I’m resident on Blk 6. I saw photos of your renovations and like your design. Do you mind to share your designer contact with me so that I can ask him to quote?.Thank You
Best Regards, Harny Anggara
Sure thing – I’ll email you in a bit.
Hi! I was thinking of removing the WC in the third toilet of my condo and came upon your blog. Can I ask if you have any problems getting approval for the removal of wc? Your wm base covers up the toilet piping below? Thanks!!
On a side note, it’s wonderful to see how beautiful and much Hannah has grown! I’m Hannah’s ex nanny’s neighbour. Congrats on your little boy too!
Hi Wenhui; yes we remember – and thanks for visiting our blog.
We didn’t have problems getting approval at all, since this is considered relatively minor modifications. Our ID handled this as part of the renovation package though. I think he simply got a Professional Engineer to look through our requests, his plan for implementation, got the PE approval/endorsement, and then had the paperwork filed in with the Condo Office. There was a fee of a few hundred for the PE endorsement though – but that was it.